No products in the cart.
The Ceramic Cycle: How does that work though?
Every time I teach a clay lesson to new students I get to deliver the heartbreaking news that not only will they not take their creations home today, but they also have to glaze (whut?!) their work so that I can fire it again (double whut??) before I can return anything… So, here it is – the delicate and time consuming process that I cycle thousands of clay pieces through every year.
Step 1: Make something out of nothing.
Students are given a block of clay and an assignment that promotes a technical skill. What most people don’t think about is how these students are creating something, anything, from a block of nothing. What a concept!

Photo by Karen Maes on Unsplash
Step 2: Let. It. DRY!
Before I can even think about putting things in the kiln they have to be “bone dry” which means extremely or completely dry. So, I have to make sure that these super wet clay bodies lose all of their moisture before I get them into the kiln. When clay is bone dry, it looks chalky and lighter than usual.
The bowl pictured below have rims that are bone dry, whereas the middle and bottom sections are closer to leather hard or even plastic.

Photo by Norris Packer on Unsplash
Step 3: Fire it. Literally.
I don’t get to magically make the clay hard, strong, and vitrified. That would be awesome. Bone dry clay is also called “greenware.” Greenware is unfired clay. After we get rid of all that pesky moisture, I load up the greenware into the kiln for a bisque firing. A standard low fire (what our students use) takes 8-10 hours and reaches a temperature of 1945 degrees Fahrenheit. No, that wasn’t a typo.

Photo by FireWhenReadyPottery.com
Step 4: Glaze those babies!
Glazing is the act of painting your pottery – but glaze is not paint. Glaze is an impervious layer or coating of a vitreous substance which has been fused to a ceramic body through firing…. Basically, glaze makes your pottery stronger and prettier than it would be without it.
Glaze does not look the same before and after firing, it goes on looking pastel and chalky and ends up totally different. Often times, a tan glaze will fire to be blue or a red glaze will fire to be green. Thanks to science, glazing can be a playful surprise or a major disappointment.

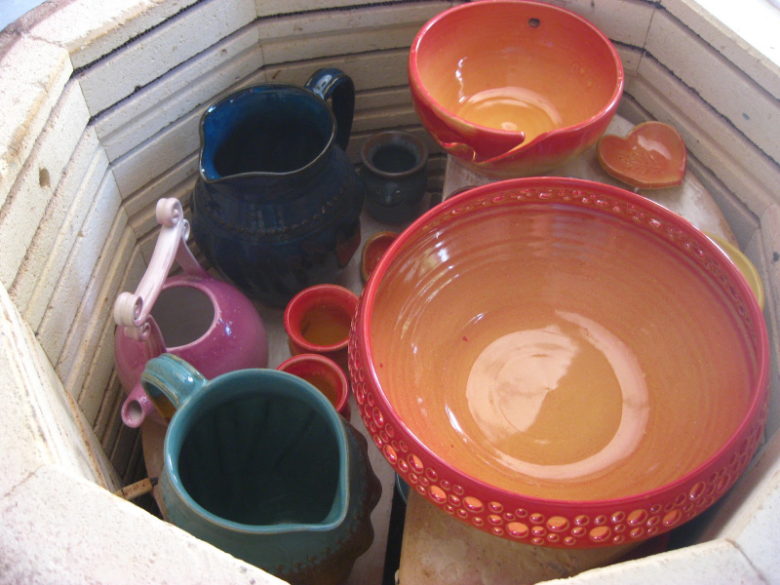
Step 5: Glaze firing!
Glaze firings are like a high-stakes game of tetris. You want to fit as many pieces into the kiln as possible but they cannot touch or else they will fuse together. No pressure, right? A low fire glaze load will fire for 8-10 hours and will reach a temperature of 1945 degrees Fahrenheit – still not a typo.
Before glaze firing:

After glaze firing:

That’s it! All you have to do is follow those five easy steps and then BOOM! POW! KAZAAM! Perfect pottery. So think about your art teacher following these steps times 100+ students times 3-5 pieces of clay per student…. That’s a lot of tetris! Patience is a virtue, especially for us art teachers.
0 Comment